Stampin' Up! Products Used:
For All You Do Rubber Stamp Set, set of 10, item #115360 (wood mount only)
Melon Mambo Classic Ink, item #115656
 Here's what the finished product looks like. These images were stamped with "solid" image stamps. If I had stamped the flower or butterfly directly from the stamp pad to the paper, they would of been a solid image not floral as shown above. That is where the stamp kissing technique comes in.
Let's get started.
 Here are the 3 stamps that I am going to work with in this tutorial.
 First stamp the design stamp on your stamp pad. Be sure you get good coverage with all parts inked.
 Here's how it looks after inking.
 You can hold your stamps to do this part, but it was easier to photograph with the stamps set on the work surface. The floral design stamp is facing up and the flower solid stamp is set directly on top of it. Press firmly and lift straight up so that you do not smear your designs.
 Look closely, see how the floral designs are now showing on the flower solid stamp.
Press the flower solid stamp firmly on your card stock.
 Here's the finished flower. It truly is now one of a kind design.
Always clean your stamps well before using again. You do not want one design to impact the other, so starting with a clean stamp is important.
 I used the same floral design stamp with my butterfly solid stamp. Again, you can see the flowers on the wings.
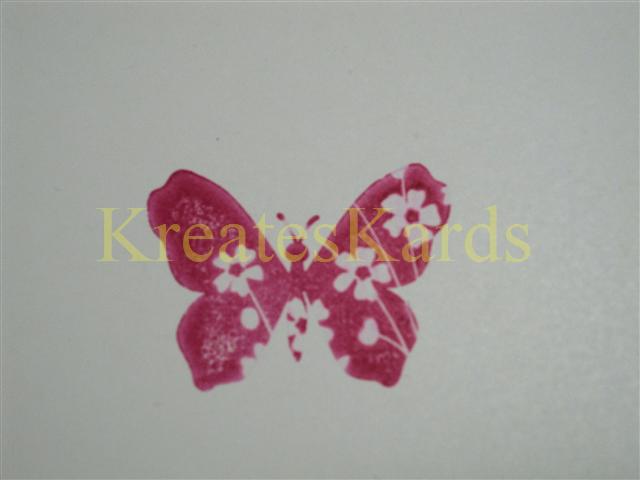 Here's the finished butterfly design.
 In the stamp set called For All You Do, you also have polka dots to use as your design stamp. Then the other stamps in the set include 2 sentiments, 2 other flowers, a stem with leaves along with the stamps I showed you above.
This technique can be done with any stamp that has a design to it and then pair it with a solid image stamp. The combinations you can create are without limit. You are going to have so much fun with this.
These can be stamped directly on a card or stamped and cut out with scissors. If you have our Stampin' Up! Idea Book & Catalog for 2009-2010, look on page 118 to see the wonderful shadow box they made with the butterflies.
If you would like to order this stamp set and other Stampin' Up! supplies, remember that you can order 24/7 from my Stampin' Up! Website by clicking HERE then click on Shop Now.
Mary
http://marydirector.stampinup.net
Stampin' Up! -- Discover Your Creativity
(On-line ordering now available thru my website)
3 comments:
Great technique, I 've seen it before but forgot about it. Your instructions are very clear - good job as usual! TFS
Joan
Great technique! I don't know why it works, but now, I know how...(say that ten times really fast...lol)
Ooohh--cool technique. gotta try this.
Post a Comment