I posted this darling bunny on my blog the other day and have received so many wonderful e-mails about him. I hope you will enjoy making the bunny as much as I did.
Here's the photo of the finished card:
 Stampin' Up! Supplies Used:
Card Stock:
Whisper White Card Stock, item #100730, use one 4" x 8" piece
Pretty in Pink Card Stock, item #101658, one 4" x 4" and one 5 1/2" x 8 1/2" (for card base)
Basic Black Card Stock, item #102851, scrap piece (dots of eyes)
Bashful Blue Card Stock, item #105120, scrap piece (for eyes)
Paper Punches:
Large Oval Punch, item #107305, for white ears and paws, punch 6
Small Oval Punch, item #107304, for pink inside ears, punch 2
Ornament Punch, item #116794, for white head, punch 1
1 3/4" Circle Punch, item #11204, for white body, punch 1
3/4" Circle Punch, item #107217, for pink paw pads and white cheeks, punch 2 white and 2 pink
1/2" Circle Punch, item #104390, for blue eyes, punch 2
Crop-A-Dile, item #108362, for black pupils and pink toes, punch using 3/16"... 6 pink and 2 black
Scallop Oval, item #114889, for sentiment, punch out after stamping
Small Heart Punch, item #117193, for pink nose, punch 1
MISC:
Classic Stamp Pad - Pink Passion, item #101212
Well Scripted Stamp Set, item #117072 (wood mount) or item #118601 (clear mount)
Stampin' Pastels (chalk), item #105542
SNAIL Adhesive, item #104332
2 Way Glue Pen, item #100425
Bone Folder, item #102300
Paper Snips, item #103579
Stampin' Dimensionals, item #104430
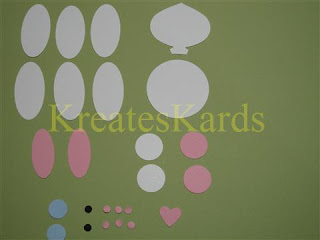 Punch out all of the designs first. See the punch list above for the colors and how many of each one.
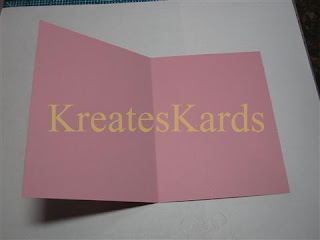 Take the piece of Pretty In Pink Card Stock (5 1/2" x 8 1/2" and bold it in half. Make a crisp crease using the bone folder.
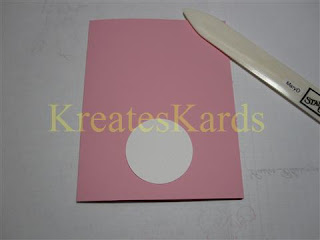 Using SNAIL adhesive, glue the 1 3/4" circle punch on the card. This is the body of your bunny.
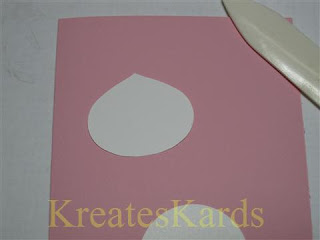 Using your Paper Snips, trim the ornament end off the ornament paper punched design. Do Not glue it to your card yet.
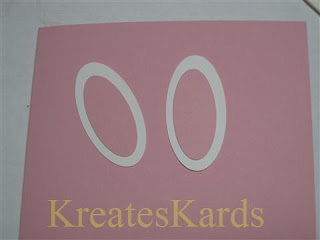 Use two of the Large Ovals for the ears and using SNAIL adhesive, glue the pink small ovals to them.
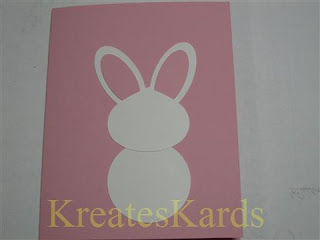 Using SNAIL adhesive, glue the ears to the back of the bunny head THEN glue the head so that it overlaps part of the bunny's body. See photo above.
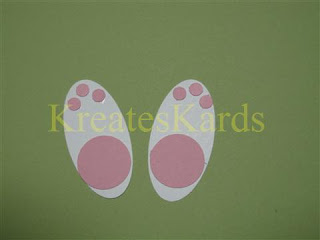 Now you are going to created the feet for the bunny. They consist of 2 large ovals, two 3/4" circles, and the six 3/16" rounds. I used SNAIL on the rounds and the two way glue pen on the tiny rounds (3/16").
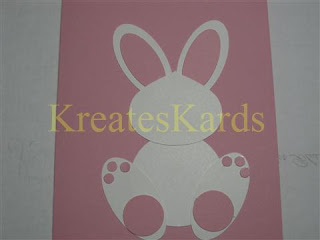 Using SNAIL adhesive, attach the feet to the body of the bunny. Angle them out just a bit and position them just a bit below the body as shown in the photo above.
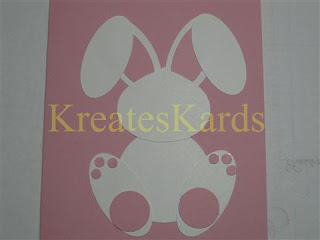 Take the last 2 large white ovals and glue them with SNAIL adhesive to make floppy ears.
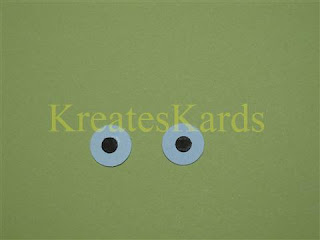 Combining the blue circle and the black tiny rounds will create the eyes. Use the 2 way glue pen to glue the black rounds to the blue. Using SNAIL Adhesive, glue the eyes to the bunny's head.
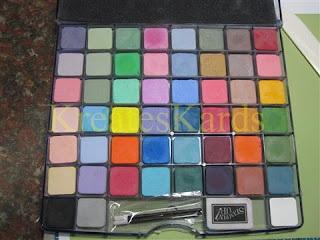 This is the Stampin' Pastels. It is miniature chalks that match our 48 main colors. Using Pink Passion and a Q-tip, I added pink to the bunny cheeks (3/4" white circles).
 After the eyes have been put on the bunny's head, then slightly cover them with the pink cheeks as shown above.
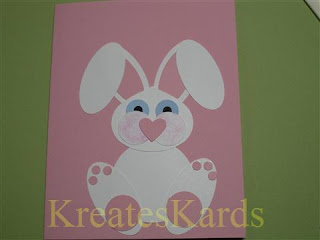 Using SNAIL Adhesive, attach the small heart to form your bunny's nose.
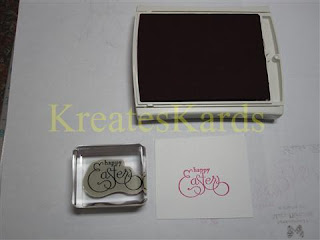 Stamp your sentiment with Pink Passion on Whisper White Card Stock. Then punch out using the Scallop Oval Paper Punch. Attach the sentiment to your card using Stampin' Dimensionals.
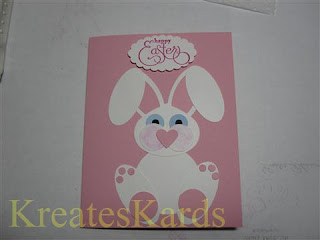 Isn't this the perfect card for Easter or to celebrate the arrival of the Spring Bunny. Hope you will make one too.
 All your Stampin' Up! products may be purchased thru my Stampin' Up Website here or by contacting me directly.
Mary
http://marydirector.stampinup.net/
Stampin' Up! -- Discover Your Creativity
(On-line ordering now available thru my website)
3 comments:
WONDERFUL card!! So cute!! I'm seeing this card using the Sweet Treat cups too.....Thanks for sharing!!
Thanks for the cute card and tutorial!!
This is adorable! Thanks for the tutorial.
Post a Comment