 Here is a photo of one of the completed covers. There are some Sneak Peek items on it:
Stamp Set: Tags Til Christmas, item #120847 - Wood OR item #121169 - Clear Mount
Glimmer Brads: (40 per container and $4.95)
....Glimmer Basics, item#121003
....Glimmer Brights, item #121006
....Glimmer Subtles, item #121004
....Glimmer In Color, item #121005
Stampin' Up! Products Used:
Riding Hood Red Card Stock, item #111348 ... 1 piece 2 3/4" x 6 3/4"
Whisper White Card Stock, item #100730 .... small piece for stamping accents
Bone Folder, item #102300
2-Way glue Pen, item #100425
3/16" Corner Small punch, item #119871
Ornament Punch Extra Large, item #119847
Stamp Set (listed above)
Brads (listed above)
Crop-A-Dile, item #108362
Directions:
 Start with your piece of Riding Hood Red Card Stock ...2 3/4" x 6 3/4"
Score at 2 1/2" and 4 1/4" (do not fold yet)
 Using the corner rounder, round each of the four corners.
 Place the cover in your cutter (do not use guillotine style for this step). Cut from the top crease line to the bottom crease line. Cuts will be at: 1 1/8" and 1 3/4"
 Using the Bone Folder, crisply crease the fold lines. Now slide in the tube of chap stick.
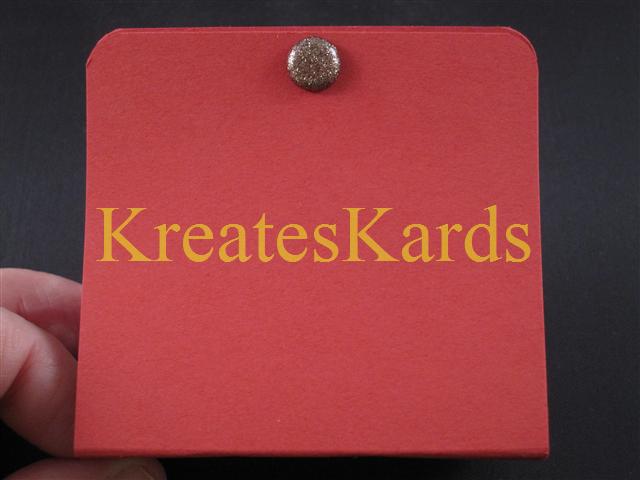 Using the Crop-A-Dile punch a hole thru the front and back pieces of the cover so that they line up. Now insert the brad.
 Stamp out the images you want to decorate the cover with and attach using 2-way glue.
I used Bashful Blue Classic Ink and Wild Wasabi Classic Ink for my images. The ornament stamped image is a perfect match for the Ornament Paper Punch.
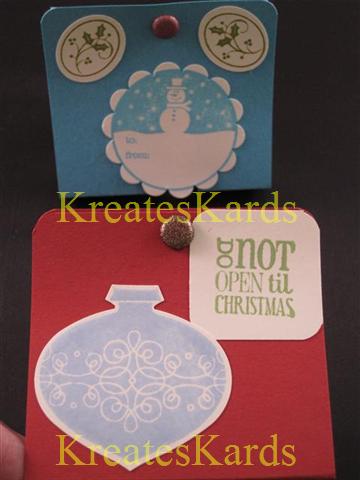 Here are some more SNEAK PEEK images of the stamp set and different color glimmer brads.
 Side view of the chap stick holder.
 Here's another style I made using the Big Shot Two Tags Die. I die cut 2 pieces of the tag. It is already creased, so overlapped the bottom piece and glued together. Then cut from crease line to crease line (same as in directions). Then completed the same as above.
SNEAK PEEK item in this photo:
Decorative Label Extra-Large Punch, item #120907
More of the glimmer brads too (item #s listed above)
SNEAK PEEK items are not available for purchase until September 1st, 2010. One of the perks of being a Stampin' Up! Demonstrator is that we are able to pre-order things the month before our customers so that we can work with them, create samples, and show SNEAK PEEKS.
If you have any questions, please let me know. Hope you are enjoying the gift idea tutorials along with my regular tutorials too.
You may order Stampin' Up! products 24/7 from my website by clicking HERE and then click shop now OR by contacting me directly (e-mail link is at top of the page).
Mary
http://marydirector.stampinup.net
Stampin' Up! -- Discover Your Creativity
(On-line ordering now available thru my website)
3 comments:
Those are so cute!! I love ideas like this where you can make several personalized little gifts that won't break the bank. Thanks for the tutorial.
These are so much fun - and look quite doable!! You know how us teachers are - we want something that is quick and has that WOW affect.
Thank you Mary for sharing hte tutorial. I can not wait to try this out. My daycare babes are fascinated with chapstick. These would make great little stocking stuffers for them!!
Post a Comment